Introduction
Setting up a WordPress site locally can be a daunting task. It requires installing a server, SQL, PHP, and WordPress and then finally linking everything together with one wrong step able to mess up hours of hard work for beginners.
All of this can be simplified by using Local By Flywheel. Local by Flywheel provides an amazing step-by-step process to set up a WordPress site without any hassle. Let us see how to do that!
Installing Local By Flywheel
Installing Local By Flywheel is very simple. Go to https://localwp.com/ and Download the latest version of the software as per your OS.
Setting up WordPress Site Using Local By Flywheel
Local makes it very easy to setup the WordPress site locally. Without divulging into details let us see how to do that.
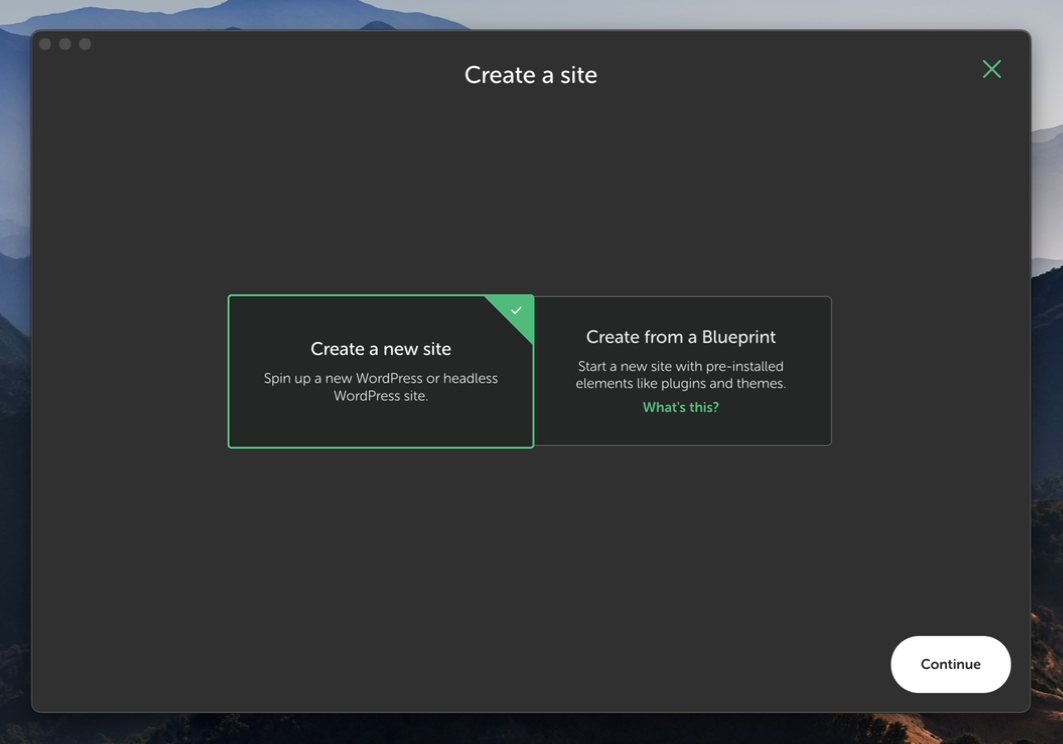
- Start Local By Flywheel and then click Create a New Site

- Name the site: Choose a cool name for the site. We choose localwordpress so our site will be accessible by visiting localwordpress.local in the browser just like wpgangsta.com.

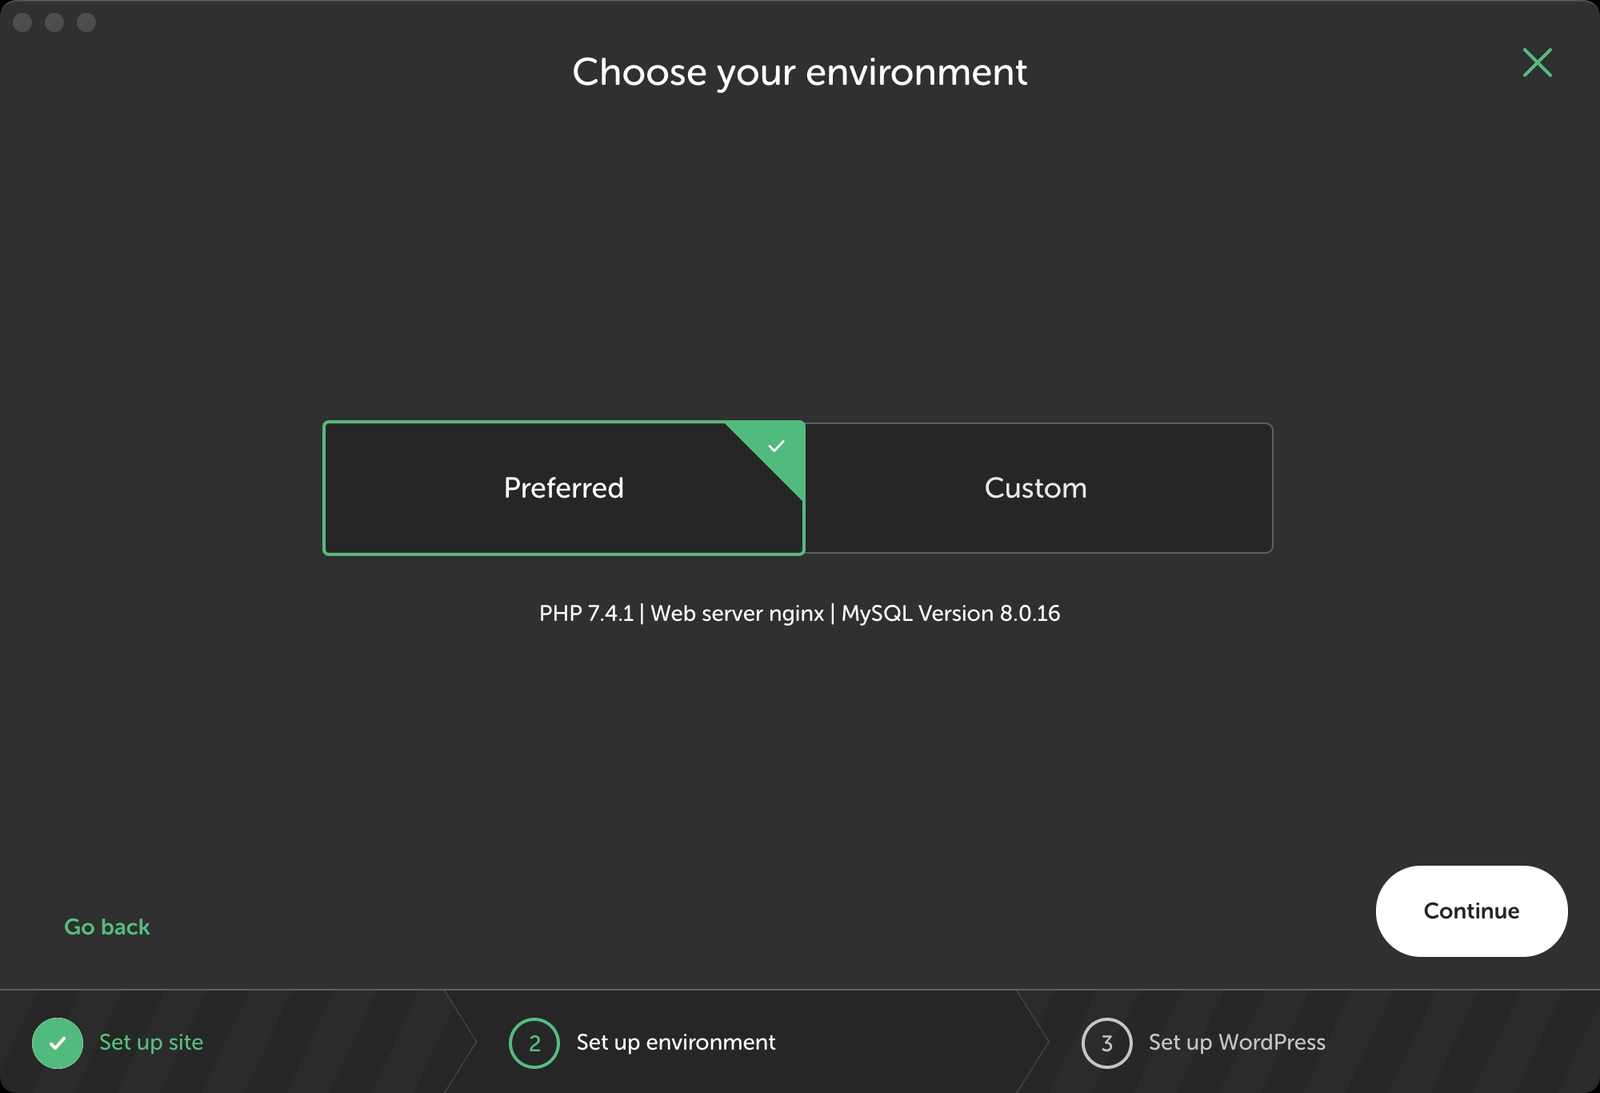
- Select Server, PHP and SQL environments: We are going to go with the default options here because they work well with new WordPress installations.

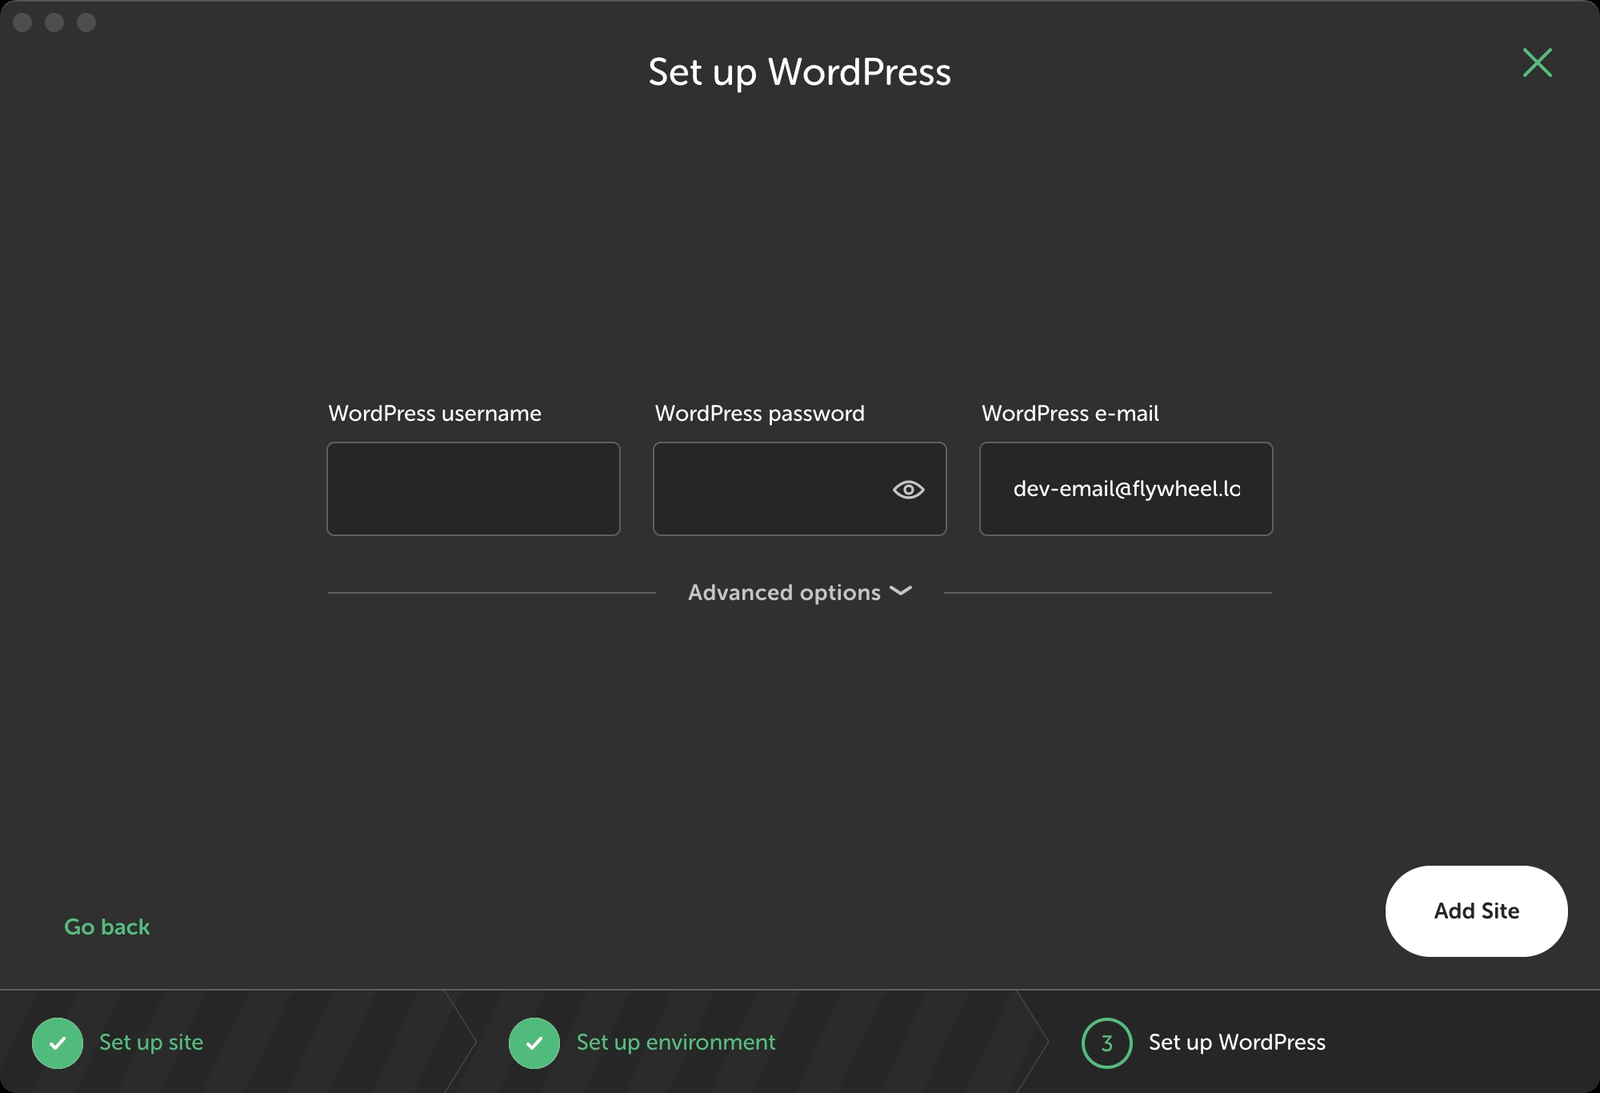
- Setup the New User and Password. These details will be used to log into the WordPress site.

5. Give it a few seconds and a fresh new WordPress site will be ready to use. You can open the site by going to the site name.localy. For example, in this case we will put https://localwordpress.local/ in the browser to visit the site.
Why We Need to Setup a WordPress Site Locally?
While local has made it easy for everyone to create a setup a WordPress site locally. A very important question arises i.e. what is the need?
There cannot be a very simple answer to this question. A local installation can help in many ways such as:
- Safely testing a WordPress site
- Developing plugin and theme for WordPress
- Learning WordPress without spending a dime
We hope this article will become a part of your journey with WordPress. Let us know how we did in comments.